This week’s recipe, Upside-Down Strawberry Bars (aka Butter Mochi), was actually a mistake–a beautiful one, but a mistake nonetheless. You see, sometimes a dish doesn’t turn out the way I had hoped, and I despair. All that work, all those ingredients, now headed straight for the trash. But sometimes…if I remain open-minded and think creatively, that “mistake” of a dish might actually turn out to be better than what I had originally set out to create.
Initially, I made these bars as Butter Mochi–a fusion of Japanese and Hawaiian cultures–because I read the article in Lucky Peach and couldn’t stop thinking about its photo of crusty, dense, and buttery baked mochi. The photo and description made butter mochi seem decadent, worlds apart from the traditional fat-free, austere mochi. There’s something about traditional mochi that seems to take itself very seriously: rice as high art form. Butter mochi, on the other hand, is like the laid-back, fun-loving version of mochi. If traditional mochi were represented by a tailored suit and tie, butter mochi would be cutoffs and Mardi Gras beads.
While I’ve only recently been consumed with curiosity about butter mochi, I’ve long been enamored with a soft, steamed strawberry mochi made by a mochi shop a few miles away. Called strawberry “chichi dango,” the strawberry mochi is tender, light, stretchy-sticky, a pretty shade of muted pink, and studded with tiny strawberry seeds. On lucky days, I can find this strawberry chichi dango in the Japanese market around the corner from my house, where it is sold four-to-a-package on styrofoam trays the size of a Hello Kitty pencil box, wrapped tightly in plastic wrap.
So with the two competing visions of mochi in my head, I set out to make butter mochi with a strawberry jam swirl.
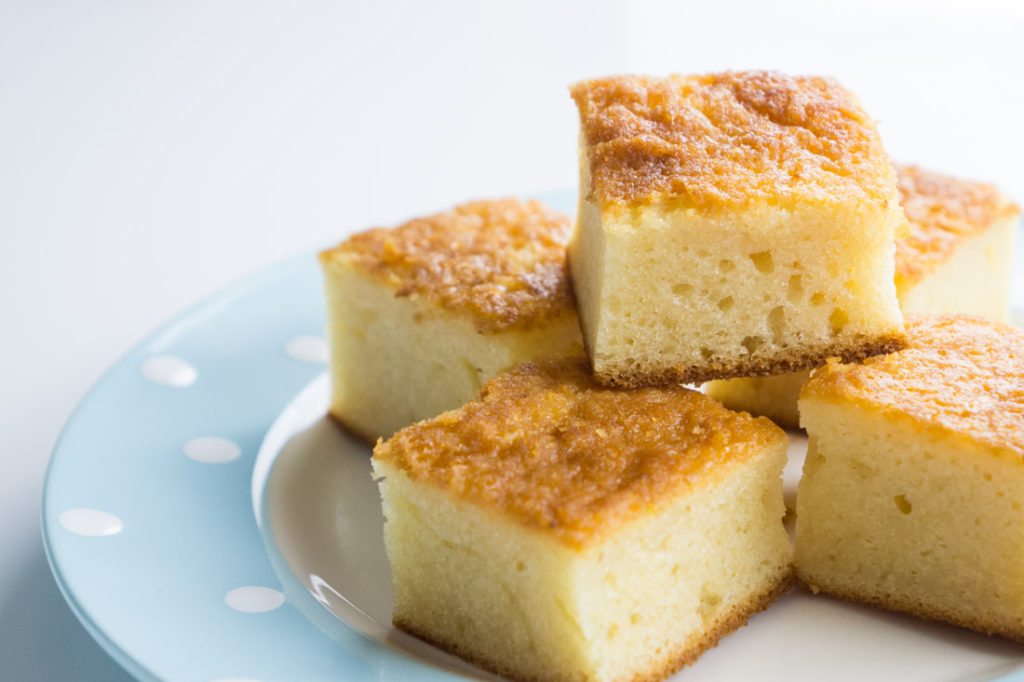
On my first try, I made plain butter mochi. Upon tasting the warm, buttery mochi, I was surprised–it was much richer, sweeter, and more bland than I had expected. I also made a strawberry version with the strawberry jam, but the jam disappeared into thin trails in the finished mochi cake. Disappointing.
Undaunted, I created another version. This time, I fully incorporated the strawberry jam into the batter and subbed out the rich coconut milk and evaporated milk for water and regular milk. Disaster. The resulting baked mochi was lackluster in flavor and texture, and barely rose at all.
Finally, I decided to revisit the original recipe. I kept the original balance of coconut milk and evaporated milk, slightly decreased the amount of butter, and added a pinch of salt to offset the bland sweetness. I swirled in a thinned-out version of the strawberry jam, upping the jam amount to half a cup.

I even carved a pretty decorative pattern in the jam with the tip of a knife. I was confident, so confident, that the jam would stay on top and bake into a lovely swirl, but I didn’t account for the jam sinking to the bottom because it was so much heavier than the thin batter. 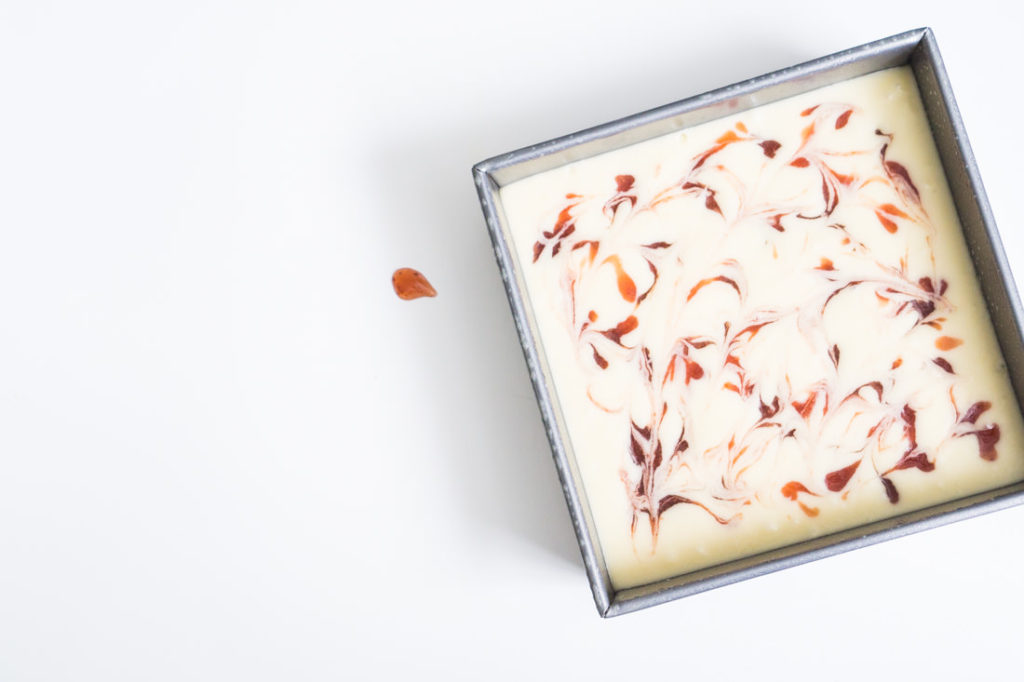
When I took the baked mochi out of the oven, I was dismayed to see that there was barely a hint of jam remaining at the top of the cake. And I was even more dismayed when I was able to pry the cake out of the pan–most of the strawberry jam was stuck to the bottom! I scraped as much of the jam off as possible and poured (what was liquid jam) and reattached (what was solid jam) to the bottom (now top) of the cake. I cut out and ate a small piece, sighed with disappointment, and left to run errands, fully prepared to throw out this latest mess.
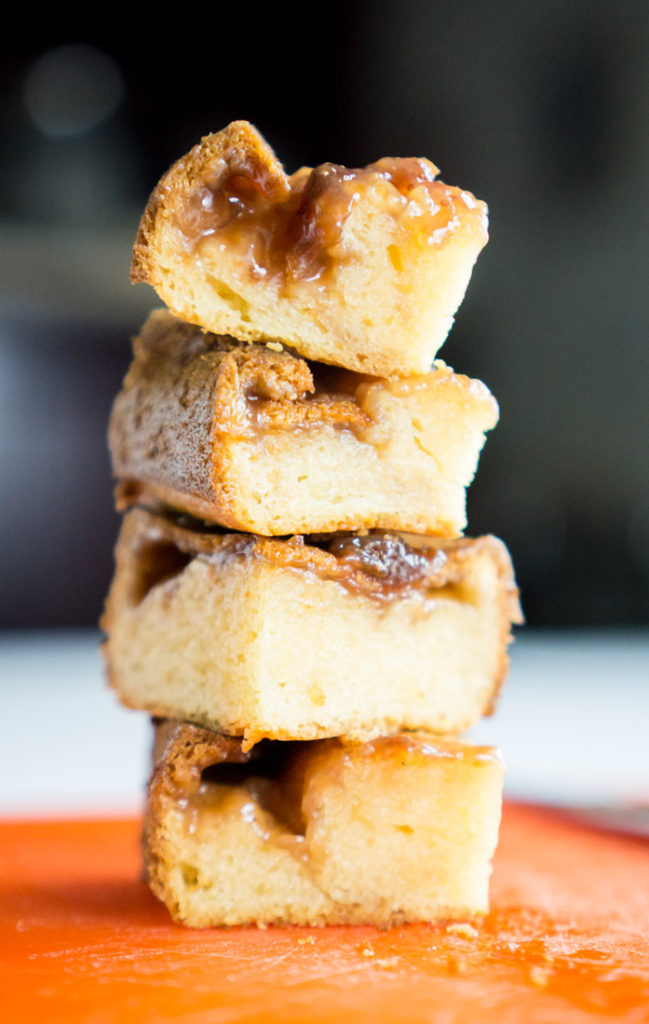
I returned, a couple of hours later, with bags of groceries in tow–including several new boxes of rice flour for subsequent batches of mochi. Curious and a little hungry, I decided to try the mochi again, so I cut myself another little sliver. This time, I found myself opening my eyes wide with surprise–this cooled strawberry butter mochi–the latest version that had seemed like the biggest disaster of all–was absolutely delicious. The extra liquid from the jam added additional tenderness to the mochi batter, and the jam had softened into a divinely chewy, gooey topping for the cake. The cooling-off process had allowed the strawberry jam-infused butter mochi to settle into a decadent dessert.
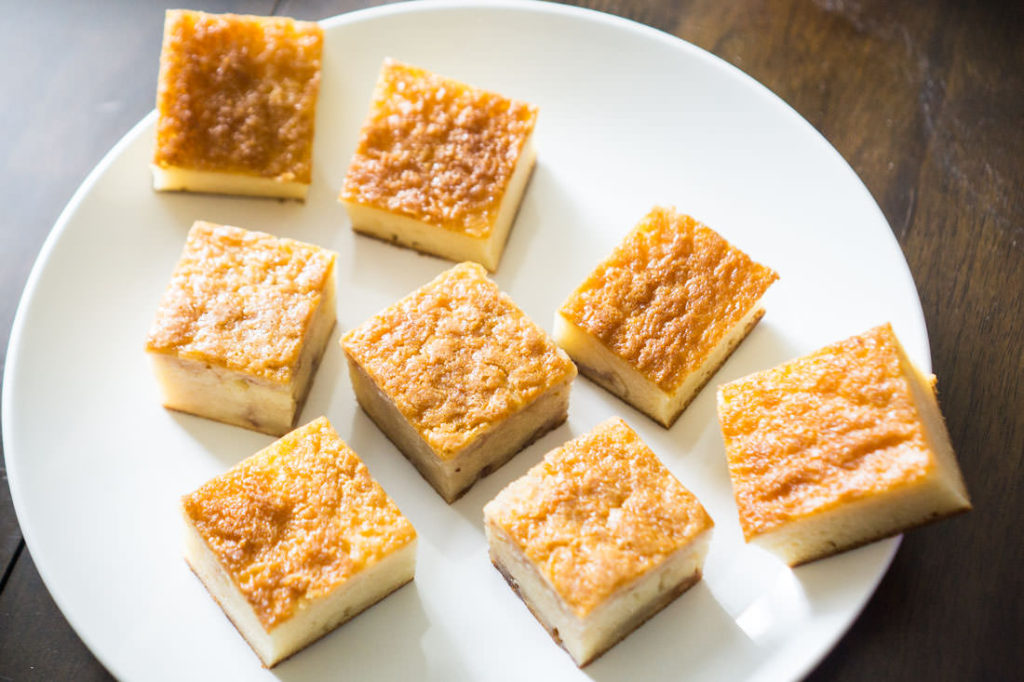
So, I guess this was a lesson and good reminder for me to keep my mind open and creative in order to allow a shift in perspective. Because while I hadn’t originally set out to create these ooey-gooey upside-down strawberry bars, ooey-gooey was what I got–and they are absolutely delicious.

Upside-Down Strawberry Bars (Gluten-Free) (Butter Mochi)
Ingredients
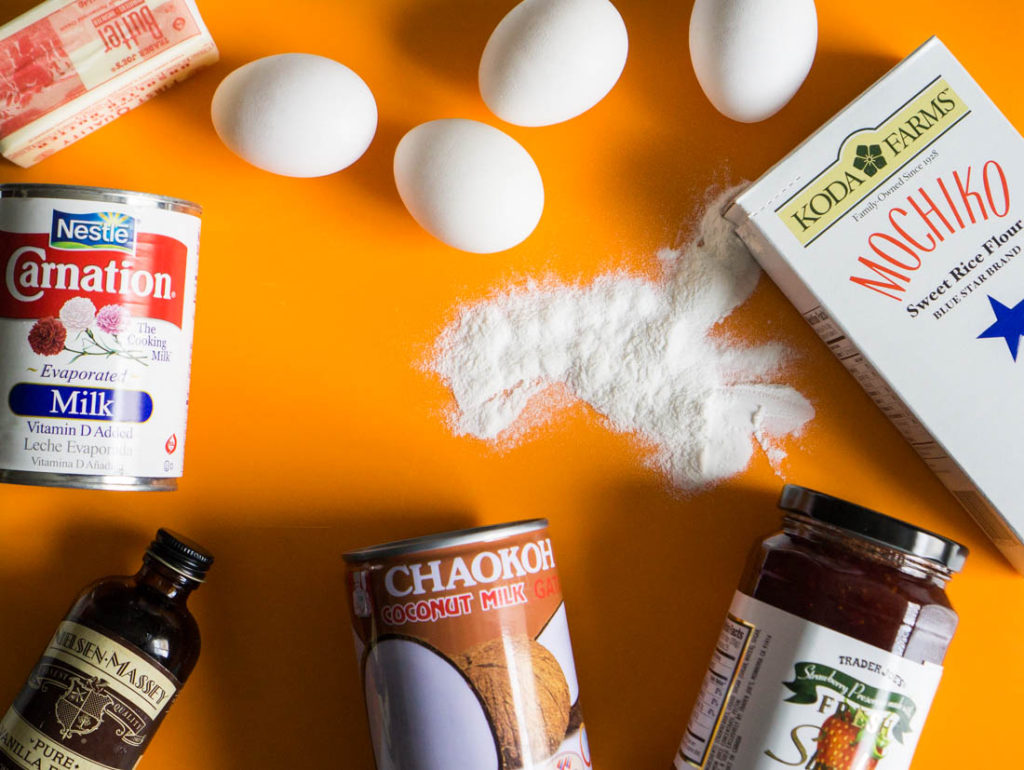
- 2 cups mochiko powder sweet rice flour--don't substitute regular rice flour, as it won't work in this recipe
- 1.5 tsp. baking powder
- 1.25 cup sugar
- 1/4 tsp. salt
- 3 Tbsp. melted cooled unsalted butter
- 2 eggs
- 6 oz. coconut milk
- 6 oz. evaporated milk
- 1 tsp. vanilla extract
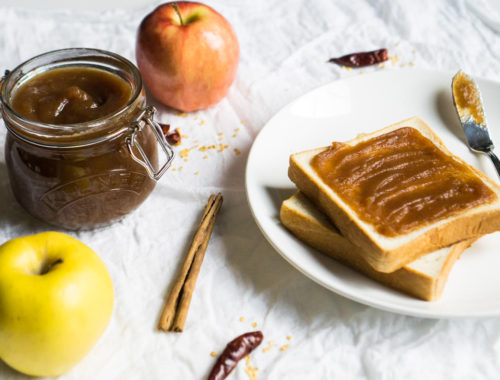
- 1/2 cup strawberry jam
- 2 Tbsp. hot water
Instructions
- Preheat the oven to 350°F. Stir together the dry ingredients in a large mixing bowl. In a separate bowl, mix the butter, eggs, coconut milk, evaporated milk, and vanilla extract, then incorporate the wet ingredients into the dry, vigorously stirring the mixture until homogeneous. (Because the rice flour doesn't contain batter-toughening gluten, don't hesitate to give the batter a few extra stirs to make sure the ingredients are well-combined.)
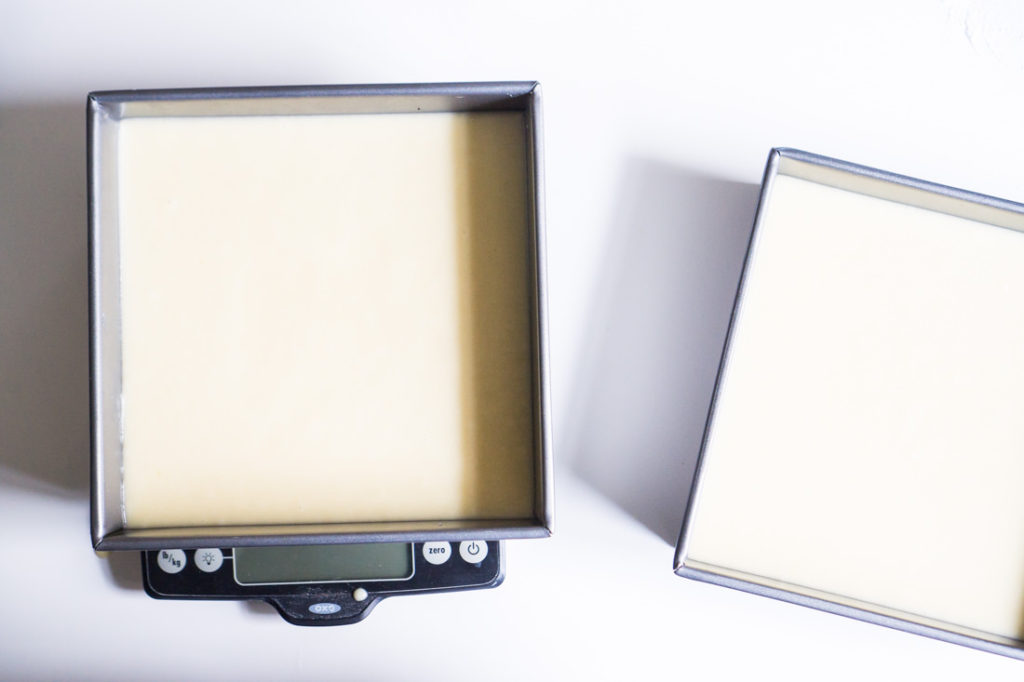
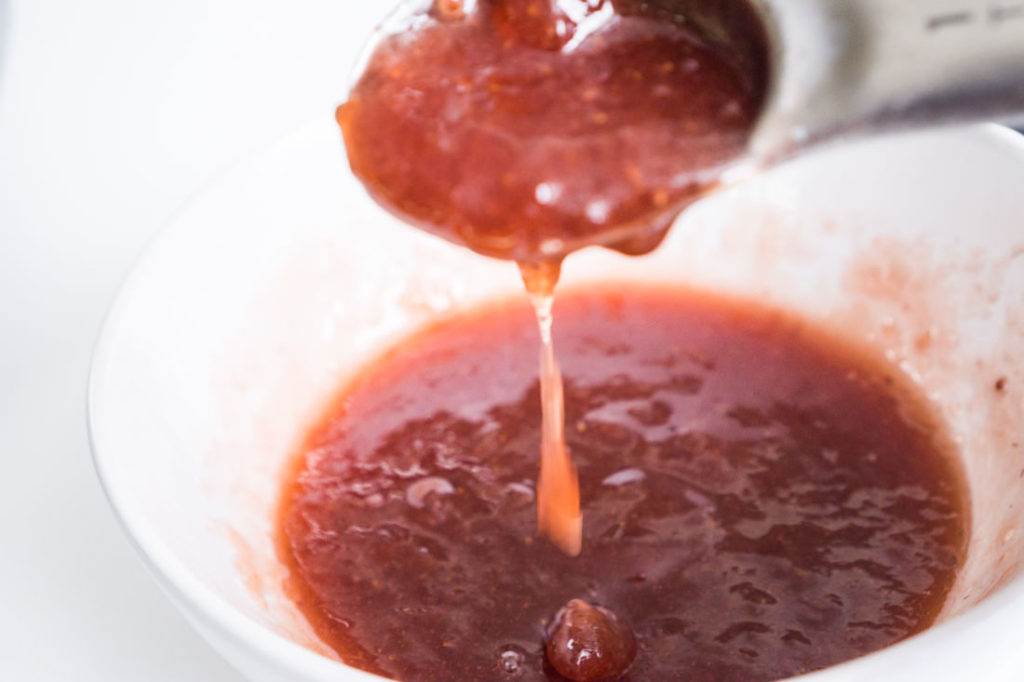
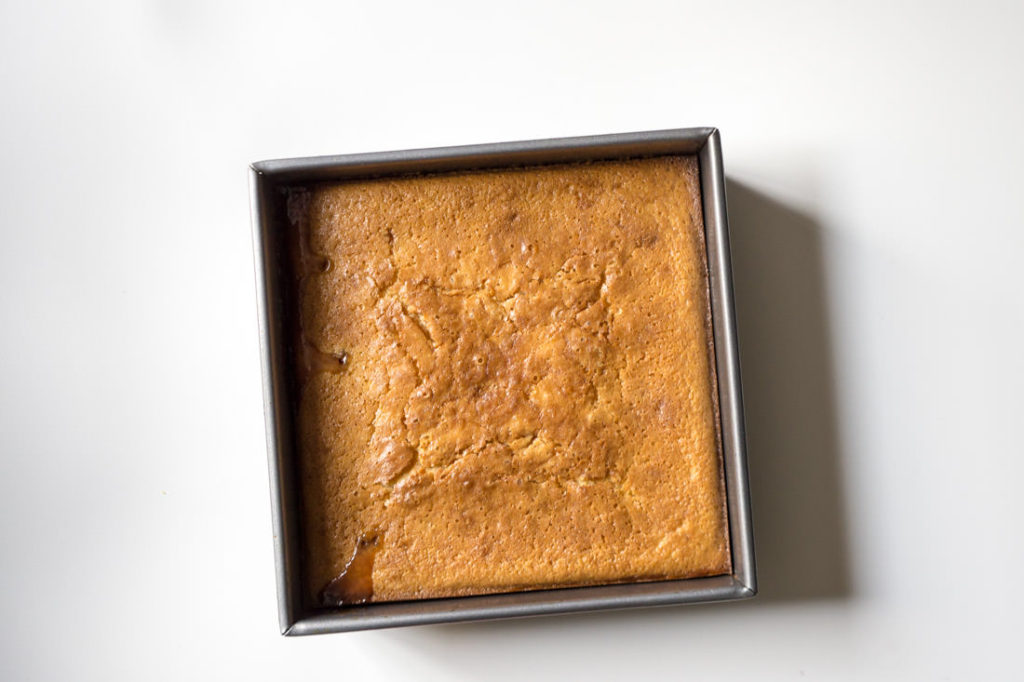
- Pour the batter into a parchment-lined 8x8-inch square baking pan and set aside. In a small bowl, stir the 2 Tbsp. hot water into the strawberry jam, microwaving the bowl for 10 seconds at a time until the strawberry jam is warm and any chunks have loosened up into a runnier jam. Using a small spoon, drop dollops of jam on top of the mochi batter, trying your best to evenly distribute the jam over the batter. Bake mochi for 1 hour, until the top of the cake is golden and just browned around the edges.
- Remove pan from oven and let cool for at least 20 minutes. Grasping the edges of parchment, carefully lift the baked mochi out of the pan. Flip the mochi upside-down onto a cutting board and peel off the parchment. The jam will have sunk to the bottom (now the top) of the cake. Let cool fully, and slice with a sharp knife into small pieces for serving.
Notes
If you'd like to make a dairy-free version, feel free to substitute margarine for the butter and to substitute extra coconut milk for the evaporated milk.
No Comments