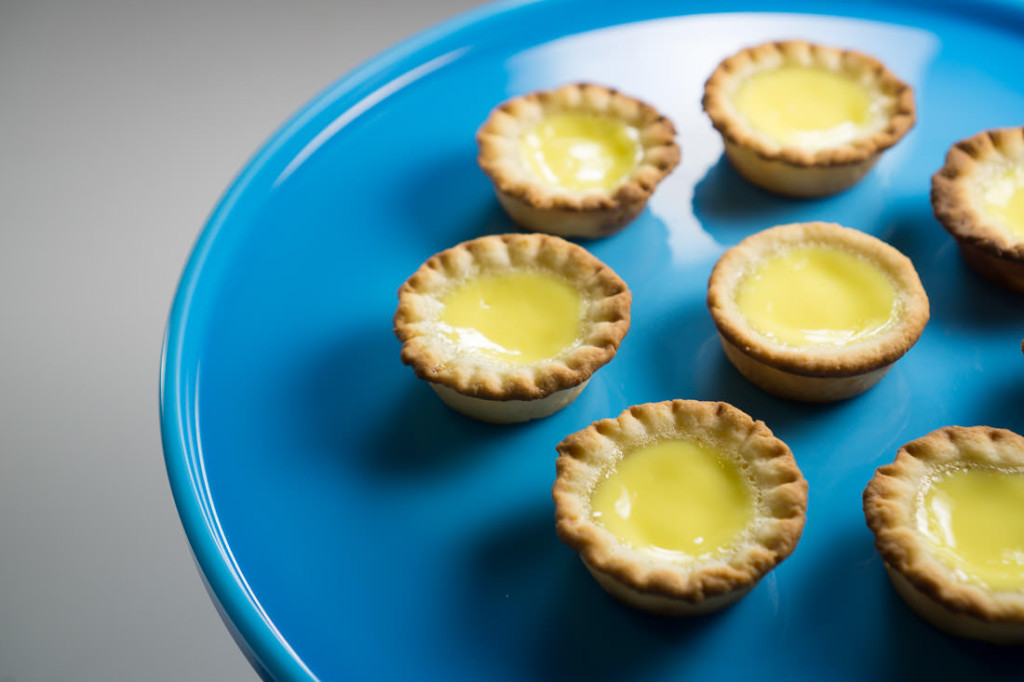
The Hong Kong-style egg tart, most commonly known to Americans as a dish served at the Cantonese dining phenomenon of dim sum, is one of those sweets that tastes so much more austere than it looks. The custard ranges in color from a pale, milky yellow to an outrageously sunny, summery yellow. Egg tarts can similarly run the gamut of sweetness and richness, but the Hong Kong-style egg tarts I’ve eaten over the years tend more toward an eggy, clean-tasting treat that could potentially be served for breakfast than a dense, creamy sugar bomb.
I’ll admit I don’t really love egg tarts, nor most of the other dishes served at dim sum. Along with steamed BBQ pork buns and various meat and seafood mixtures encased in steamed rice wrappers, dim sum food is often bland (sugar and salt seem to be the predominant seasonings), texturally one-dimensional (so many dishes are soft and/or squishy), and, well…boring. I hoard the little dishes of hot mustard and chili sauce, and coat my food in the condiments until the original bun or noodle or other steamed thing is barely recognizable.
I know that I’m in the minority here. Friends and acquaintances are often stunned into embarrassed silence when I deliver my fevered anti-dim sum rants. In my defense, I offer up a single detail of my life: between the approximate ages of 6 and 15, I spent at least 20 weekends per year slumped with boredom in my chair, pulled up to a large round table at various shabbily-lavish dim sum parlors in Los Angeles as my parents caught up on gossip with my grandma and aunts and uncles. Sometimes I would take naps on my mom’s lap, staring at old gum stuck under the table until I nodded off. Sometimes I would wander over to the fish tank (and there was always a fish tank…), press my hands against the glass, and watch the fish watching me as they swam by, just passing the time until they met their maker. Then I’d wander back to my family’s table, where we’d be going on hour 2 of our dim sum marathon. One aunt would be talking real estate deals. A cousin would be beating up on a littler cousin. My mother would offer me a baked, sticky-sweet BBQ pork bun, or a greasy-crusted, bland egg tart.
In short, I got pretty dim-sum’ed out. Which is why I remember so vividly the one time my mother made her own egg tarts from a recipe she clipped from the Chinese-language newspaper. I typically have a terrible memory, but these special egg tarts are memorialized with a vibrant snapshot in my mind. I was 8 or 9, I remember exactly where I stood in the kitchen next to her, and I recall that the crust contained a super-secret ingredient: cream cheese. Up until that day, none of the egg tarts I’d sampled in my life had appealed to my appetite: they featured the standard bland custard and bland crust. These cream cheese crust egg tarts were a revelation: rough and rustic, slightly tangy and salty-crusted from the cream cheese, which perfectly offset the sweet filling. I was in love. And after that one spectacular success, my mother never made those egg tarts again.
I called my mom the other day.
ME: “Mom, remember those egg tarts you made when I was in third or fourth grade?”
MOM: “Eh? What?!? I would never make such a thing.”
ME: “No, Mom, that one time you did – the ones with cream cheese in the crust? They were amazing! Do you still have the recipe?”
MOM: “SUNNY! If I made those – which I don’t remember doing – how is it possible that I would still have the recipe, so many years later?!!”
So I knew I had to pin down my own recipe. This took more than a week of recipe-testing.
First, I had to sort out the custard issue. I wanted a custard that was not too sweet, yet sweet enough to offset the savoriness of the tart dough. I also wanted the custard to taste eggy but not too rich. I settled on two eggs and one egg yolk to add richness, beaten with warmed milk, sugar, vanilla, and a pinch of salt, then strained to ensure a smooth texture.
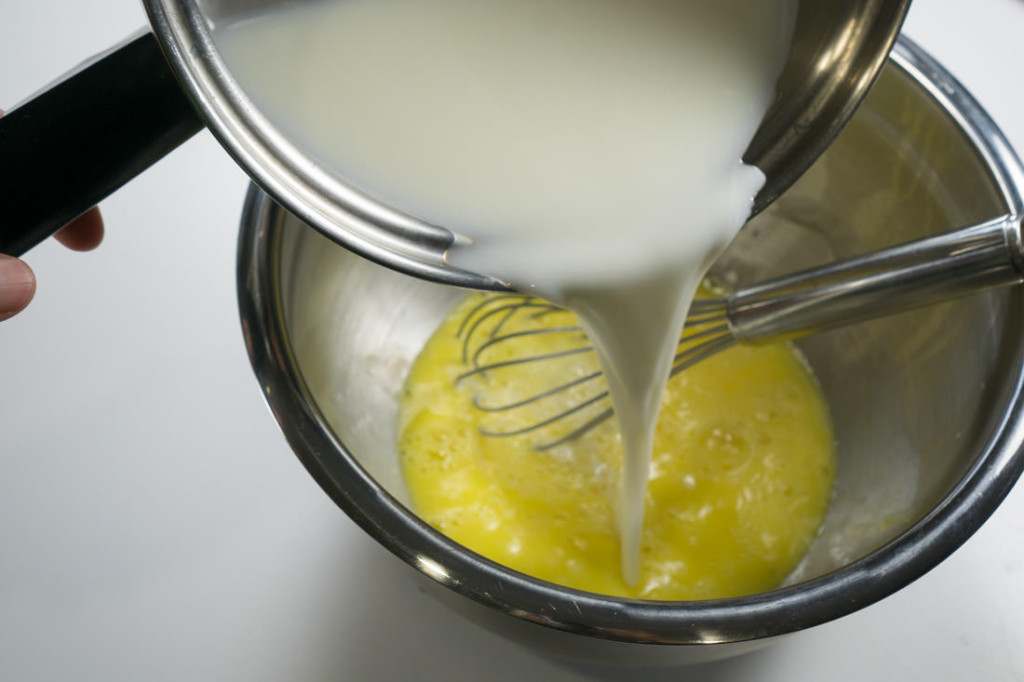
Whisking the warmed milk-sugar mixture into the whisked eggs
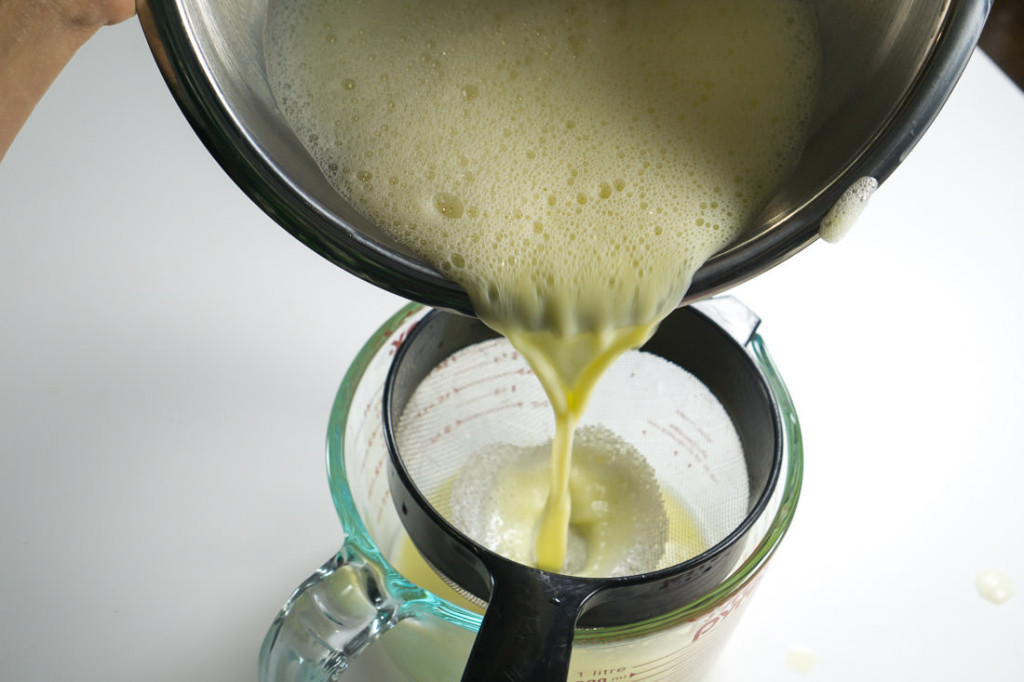
Straining the milk-egg mixture
Next, the tart crust issue was a bigger project to tackle. When I baked the tarts with the custard filling inside the raw crust dough, I got tarts that were slightly misshapen, with an undercooked bottom.
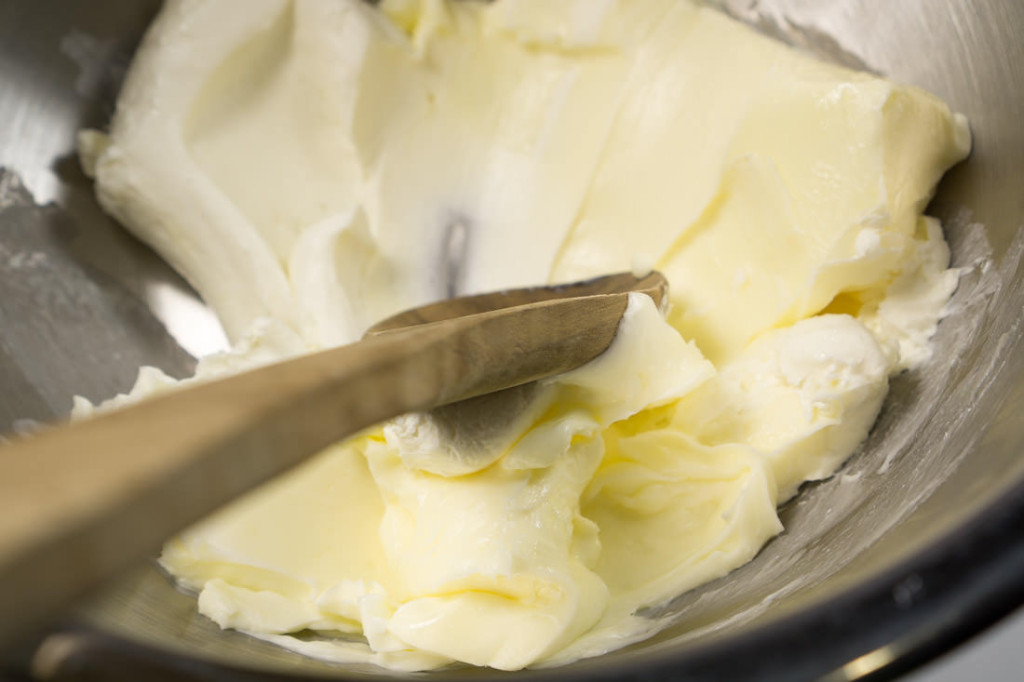
Creaming the butter and cream cheese
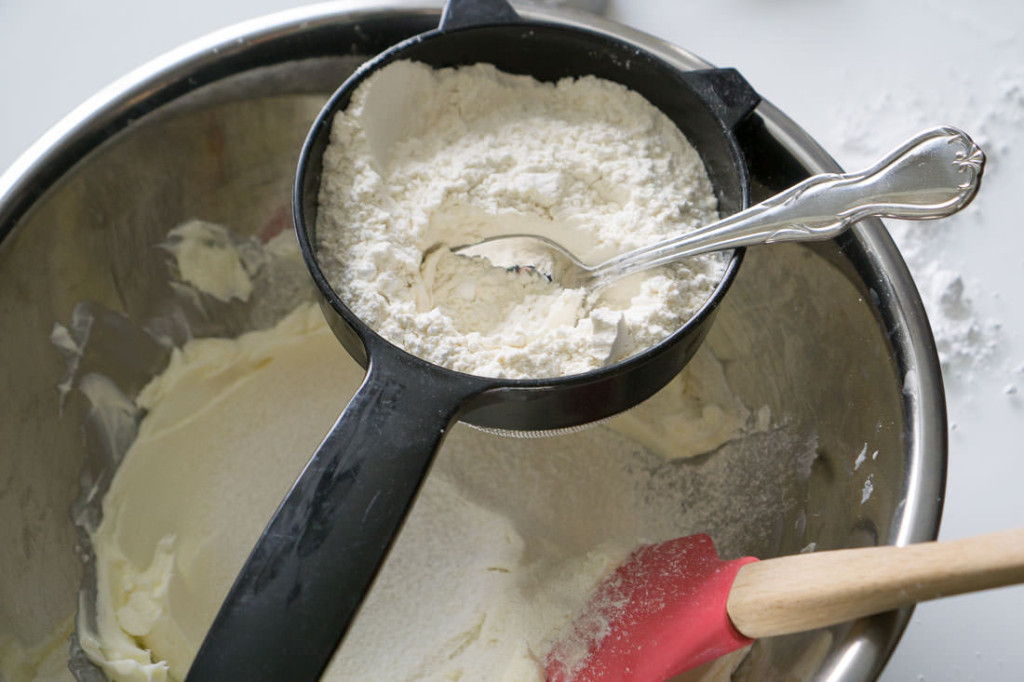
Sifting in the flour and powdered sugar
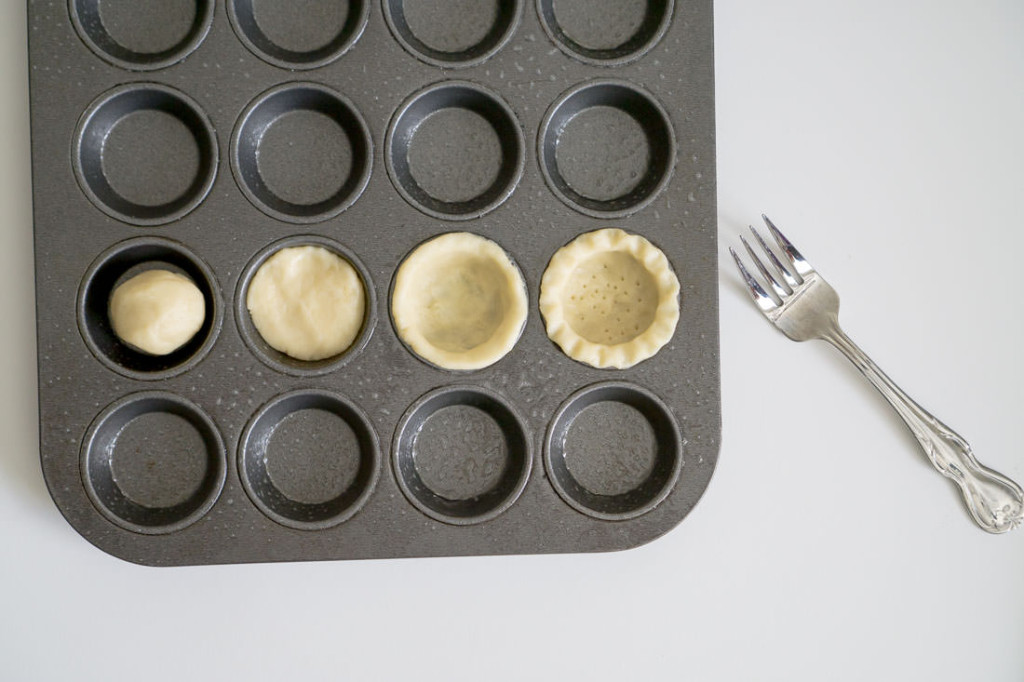
Forming the egg tarts, from L to R: (1) ball of dough, (2) dough pressed flat, (3) plain tart crust, (4) fluted tart crust
Yet, when I baked the tart dough by itself to ensure a crisp bottom (commonly called “blind baking”), I frequently got misshapen, puffy pucks of shortbread as a result.
Egg Tarts, Failure #1: Blind-Baked, Thin Custard, Puffy Bottoms
The delicate detailing I created on the tart edges often melted away after baking, causing me many episodes of hair-pulling and late nights slaving over tart dough. My clothes became impregnated with the smell of baking dairy.
By the end of my egg tart experiments, I had made about ten different batches of tart dough with differing amounts of flour, baked at many different temperatures. I finally settled on a recipe that would yield a thin, crispy, buttery crust that would maximize the amount of delicate custard inside.
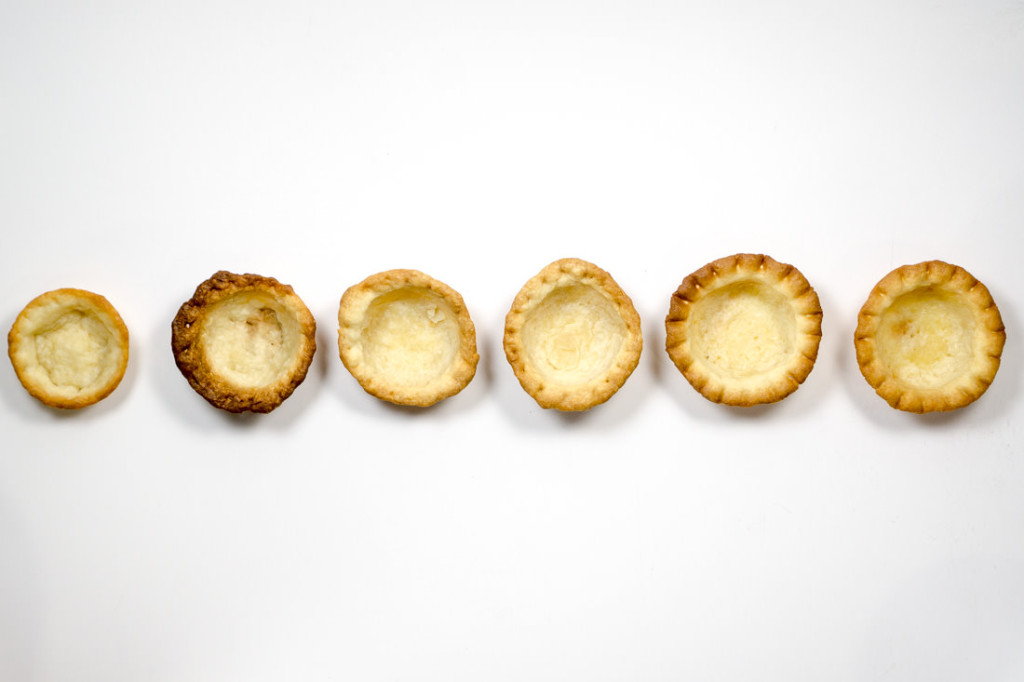
Egg Tarts, lined up from failure to success (from left to right). You can see that, by attempt #5, I had figured out the high-temperature trick, and by #6, I had tweaked the temperature to prevent burning of the crust.
The revelation, when it came, was this: I had to start baking the tart crusts at a high temperature after removing them from the freezer. The initial burst of high heat would lock in the shape of the frozen dough without allowing the fat in the dough to slowly melt into a mushy pile in the oven. Also crucial, I learned, was initially forming the crusts with room temperature (not cold) dough. No more melted tart crusts…just me skipping around the house in celebration, with a little shortcrust shell cupped in my hand.

Yep, we’re baking pinto beans here: blind-baking the tart shells
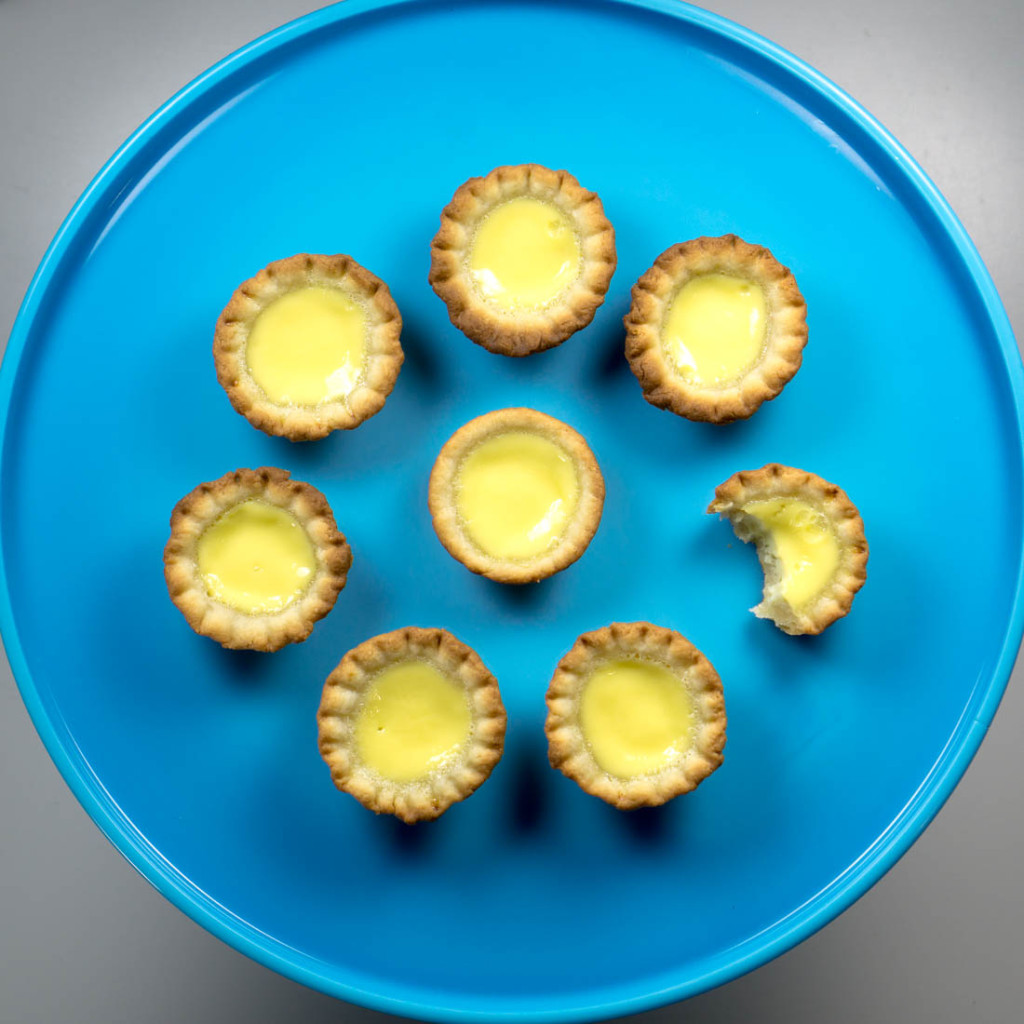
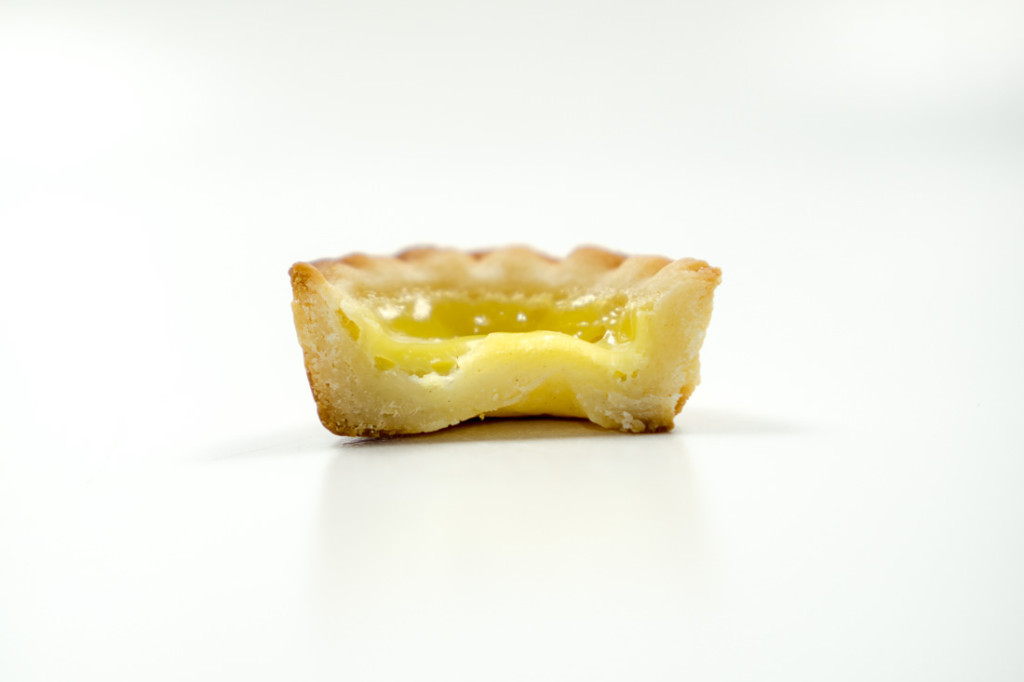
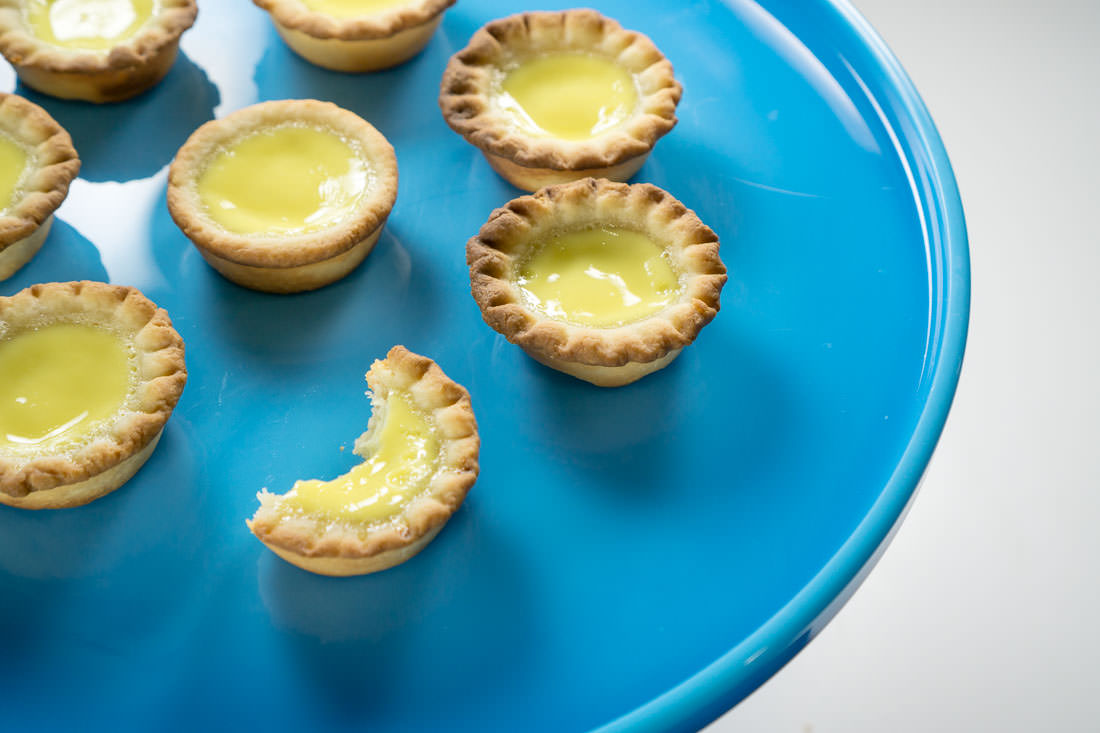
Egg Tarts!

I made my mom sample a tart with me. I’m not sure she particularly approved of my tart-making skills, but then I thought: perhaps it doesn’t really matter. Many years had passed since she last baked egg tarts for my siblings and me — so many that the tarts had nearly grown into the stuff of legend in my childhood memories — and I was delighted to finally be able to return the favor and see her bite into an egg tart I had made for her.
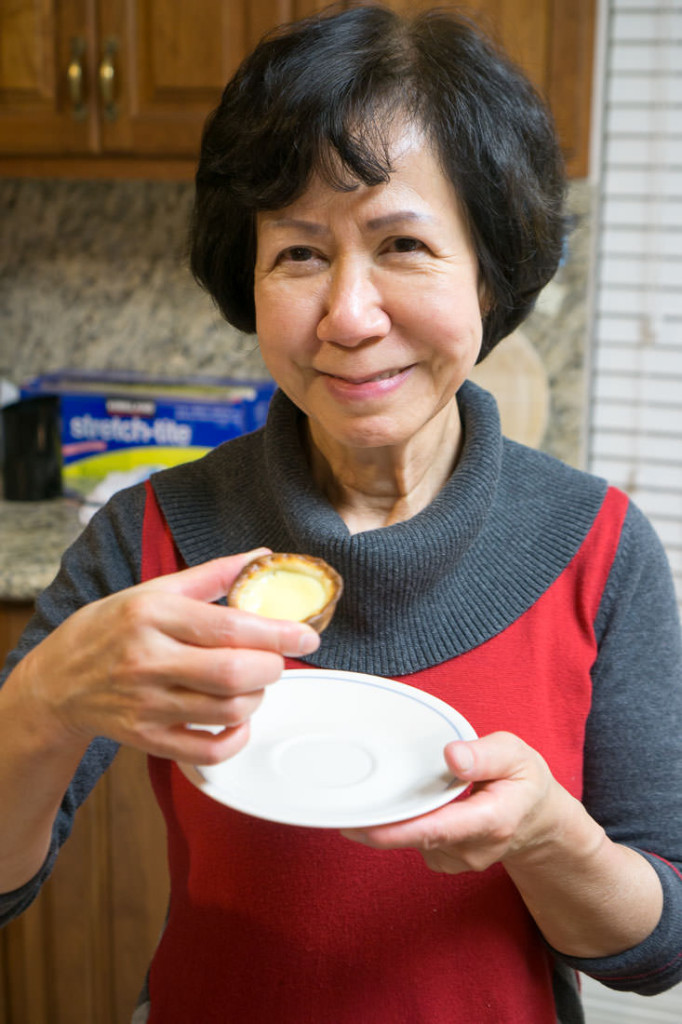
Mom, with egg tart
Hong Kong-Style Egg Tarts with Cream Cheese Crust
Ingredients
For the tart shells:
- 4 oz. cream cheese softened
- 1 stick of butter softened (salted – or add 1/4 tsp. salt to the dough)
- 1 and 1/2 cups all purpose flour
- ½ cup confectioner’s sugar
- Cooking spray
- Pie weights I use raw beans or rice reserved for this purpose
- 1 egg white beaten lightly
For the custard:
- 2 eggs plus 1 egg yolk
- 1 and ¼ cups milk
- 6 Tbsp. granulated sugar
- ¼ tsp. vanilla extract
- Pinch of salt
Instructions
- Grease 24 mini-muffin tins. (You could also use 12 regular-sized muffin tins or your choice of tart tin; you’ll likely have to closely monitor the baking of the tart shells and adjust the baking time for the custard-baking portion of the recipe.)
- Mix the cream cheese and butter together in a medium bowl. With a sieve held over the bowl of butter mixture, sift in the flour and confectioner’s sugar. Mix just until a dough forms and you no longer see large pockets of unincorporated cream cheese or flour/sugar.
- Divide the shell dough into 24 pieces and press firmly into tins. (Set a little dough aside for patching any holes that emerge during the tart shell baking process.) If you’d like, you could also decoratively flute the tart shell edges with a chopstick. Prick the bottoms of the tins lightly with a fork to prevent the dough from puffing up.
- Freeze the tart shells in their pan for at least 15 minutes.
- Preheat the oven to 425 degrees Fahrenheit. Tear off 24 small pieces of foil to fit inside the tart shells and lay them out on a cookie sheet in one layer, shiny-side-up. Spray the foil with cooking spray.
- Remove the tart shells from the freezer. Tightly press a piece of the foil inside each tart shell, oiled-side-down, taking care to avoid any decorative fluted edges. Fill each foil-covered frozen tart shell with beans or rice.
- Bake the tart shells for 1 minute, and then lower the temperature to 290 degrees. Bake about 9 more minutes until the tart shells are lightly browned around the edges, monitoring them closely throughout. If they are browning too quickly, lower the temperature further by opening the oven door.
- Remove the tart shells from the oven and let cool for at least 3 minutes. Slowly and carefully ease the foil cups out of each tart shell. You will probably see that the edges of the tart shells are no longer raw, but the bottoms of the tart shells will still be a little raw. If the bottoms of the tart shells have puffed up, press them down, and return the tart shells to the oven. If large cracks or holes have developed in the bottoms or sides of the tart shells, patch them with a tiny piece of leftover dough that you reserved from earlier.
- Bake tart shells for another 5 minutes until dry. (Again, closely monitor the tart shells -- if the edges are browning too quickly, lower the temperature or crack open the oven door for a few seconds to manually lower the temperature.)
- Remove tart shells from oven. With a pastry brush (or, in an pinch, a paper towel), brush the inner surface of the tart shells with the egg white to seal any small holes. (You don't want the custard to leak out of the holes!) If larger cracks have formed during the baking process, take a tiny pinch of the leftover dough and patch up the cracks. Return the tart shells to the oven for 2 more minutes. Remove tart shells from the oven and set aside to cool for at least 10 minutes while you make the custard filling.
- Raise the oven temperature to 325 degrees Fahrenheit.
- While the shells are cooling, heat the milk and sugar in a small saucepan over low-medium heat, stirring frequently to prevent milk from scorching, until sugar is dissolved but milk is not yet boiling. Remove from heat and set aside.
- In a small bowl, beat the eggs and egg yolk, then slowly drizzle in about half of the warm milk mixture, whisking the mixture constantly with your other hand. Once the eggs have been incorporated with about half of the milk mixture, add the rest of the milk mixture at once and whisk well. Pour the egg-milk mixture through a fine mesh sieve; you might notice that the egg whites stubbornly stick in the sieve, but try to push them through as best you can to maximize the smooth texture of the custard. Whisk in the vanilla extract and salt.
- With a spoon or cup with a spout, pour the custard into the cooled tart shells, filling just below the top.
- Bake 15-18 minutes at 325 degrees Fahrenheit or until the custard is set. Again, if you have an oven light, keep a close eye on the tarts while they are baking. Towards the end of the cooking time, you will notice the custard puff up slightly but still stay jiggly in the middle; the custard will set and finish cooking shortly after this puffing occurs. When the custard is set, remove the tray of tarts from the oven. Let cool briefly in pan, and finish cooling on a wire rack.
- Egg tarts are very delicious when fresh and flaky, straight out of the oven, but are also very good at room temperature. They are best the same day they are baked, as they will get soggy over time.

No Comments